Documentation
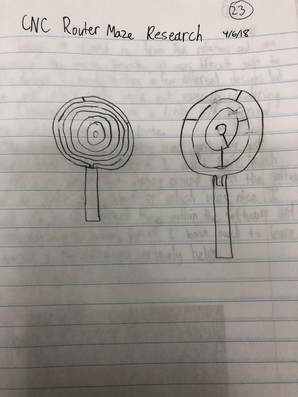
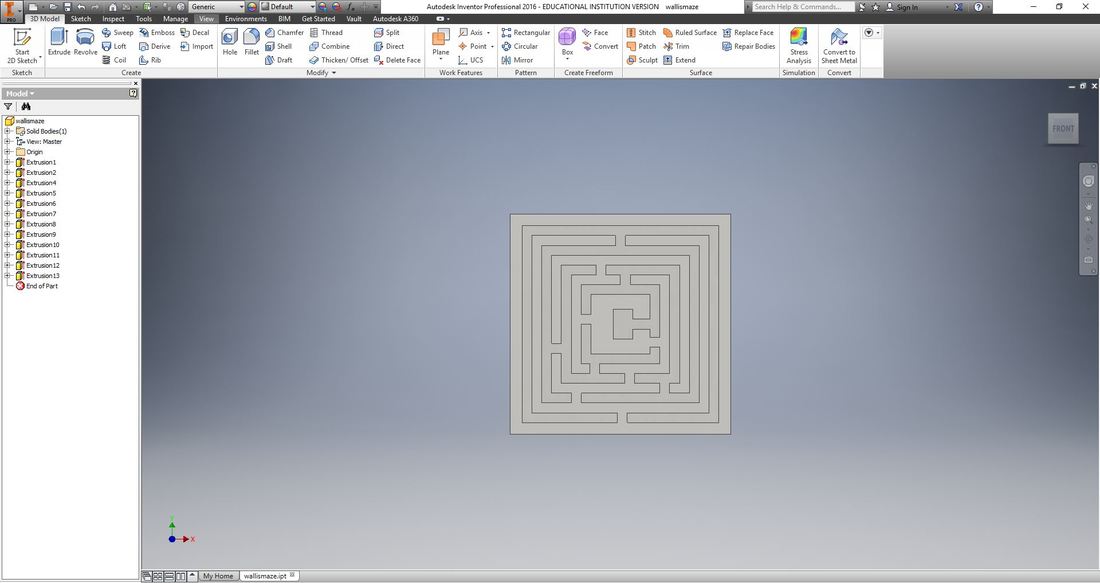
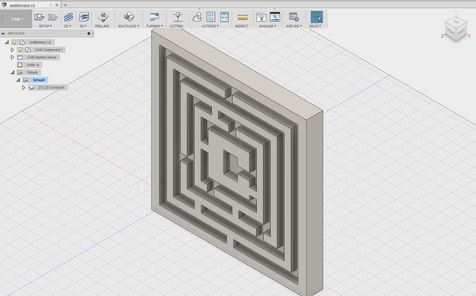
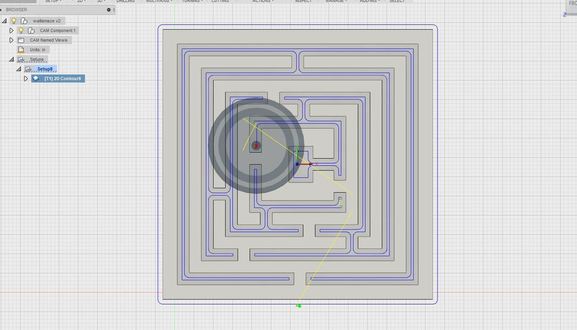
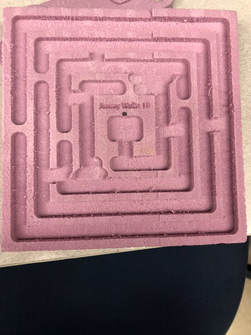
For my maze, I decided to go with squares that got smaller and smaller until you get to the middle. It wasn't my original plan (as seen in image below) and it took a couple of ideas to get a successful concept where the maze could go from square to square and have different pathways. After trying a few things out I was able to come up with my final design. I then preceded to create the maze in Inventor. Then I set up the tool-paths in Fusion 360. And finally I routed the maze.
Maze Recipe
To create a maze, the first thing that needs to be done is a concept. Figure out the design of the maze and then draw a sketch to use as a guide in Inventor. Then in Inventor, create the base of the maze, essentially the maze before there is a route. Then create the pathways for the maze, make sure the paths follow the size guidelines. Continue the process until the complete maze is extruded and the final product should look like a maze with partially extruded pathways.

Project Screenshots
|
|
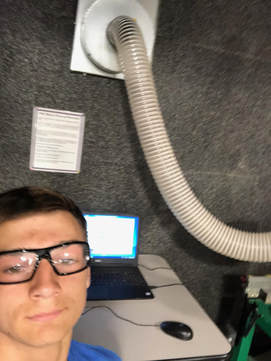
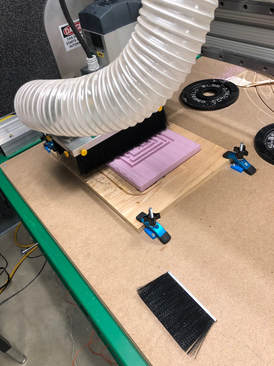
Physical Images
|
|
Final Maze
Summary
In this rotation, I learned that making something the is even like a square in Inventor actually is a lot easier to create pathways in Fusion 360. I initially just created my design because I thought it would look nice, but it actually helped me in the long run. Fusion 360 took many of my classmates several days to complete, however I was able to complete it very efficiently in just over one class period. Overall, the CNC Router may seem very intimidating due to its large size, but it actually is quite simple and really impressive. It made my maze in just about two minutes which was again much faster than most of my classmates due to the nice shape of my design.
